3D
We've Got Some Work To Do Now
by Samantha Friday · submitted Nov 4, 2014 · 2014 contest
1 / 44
Description
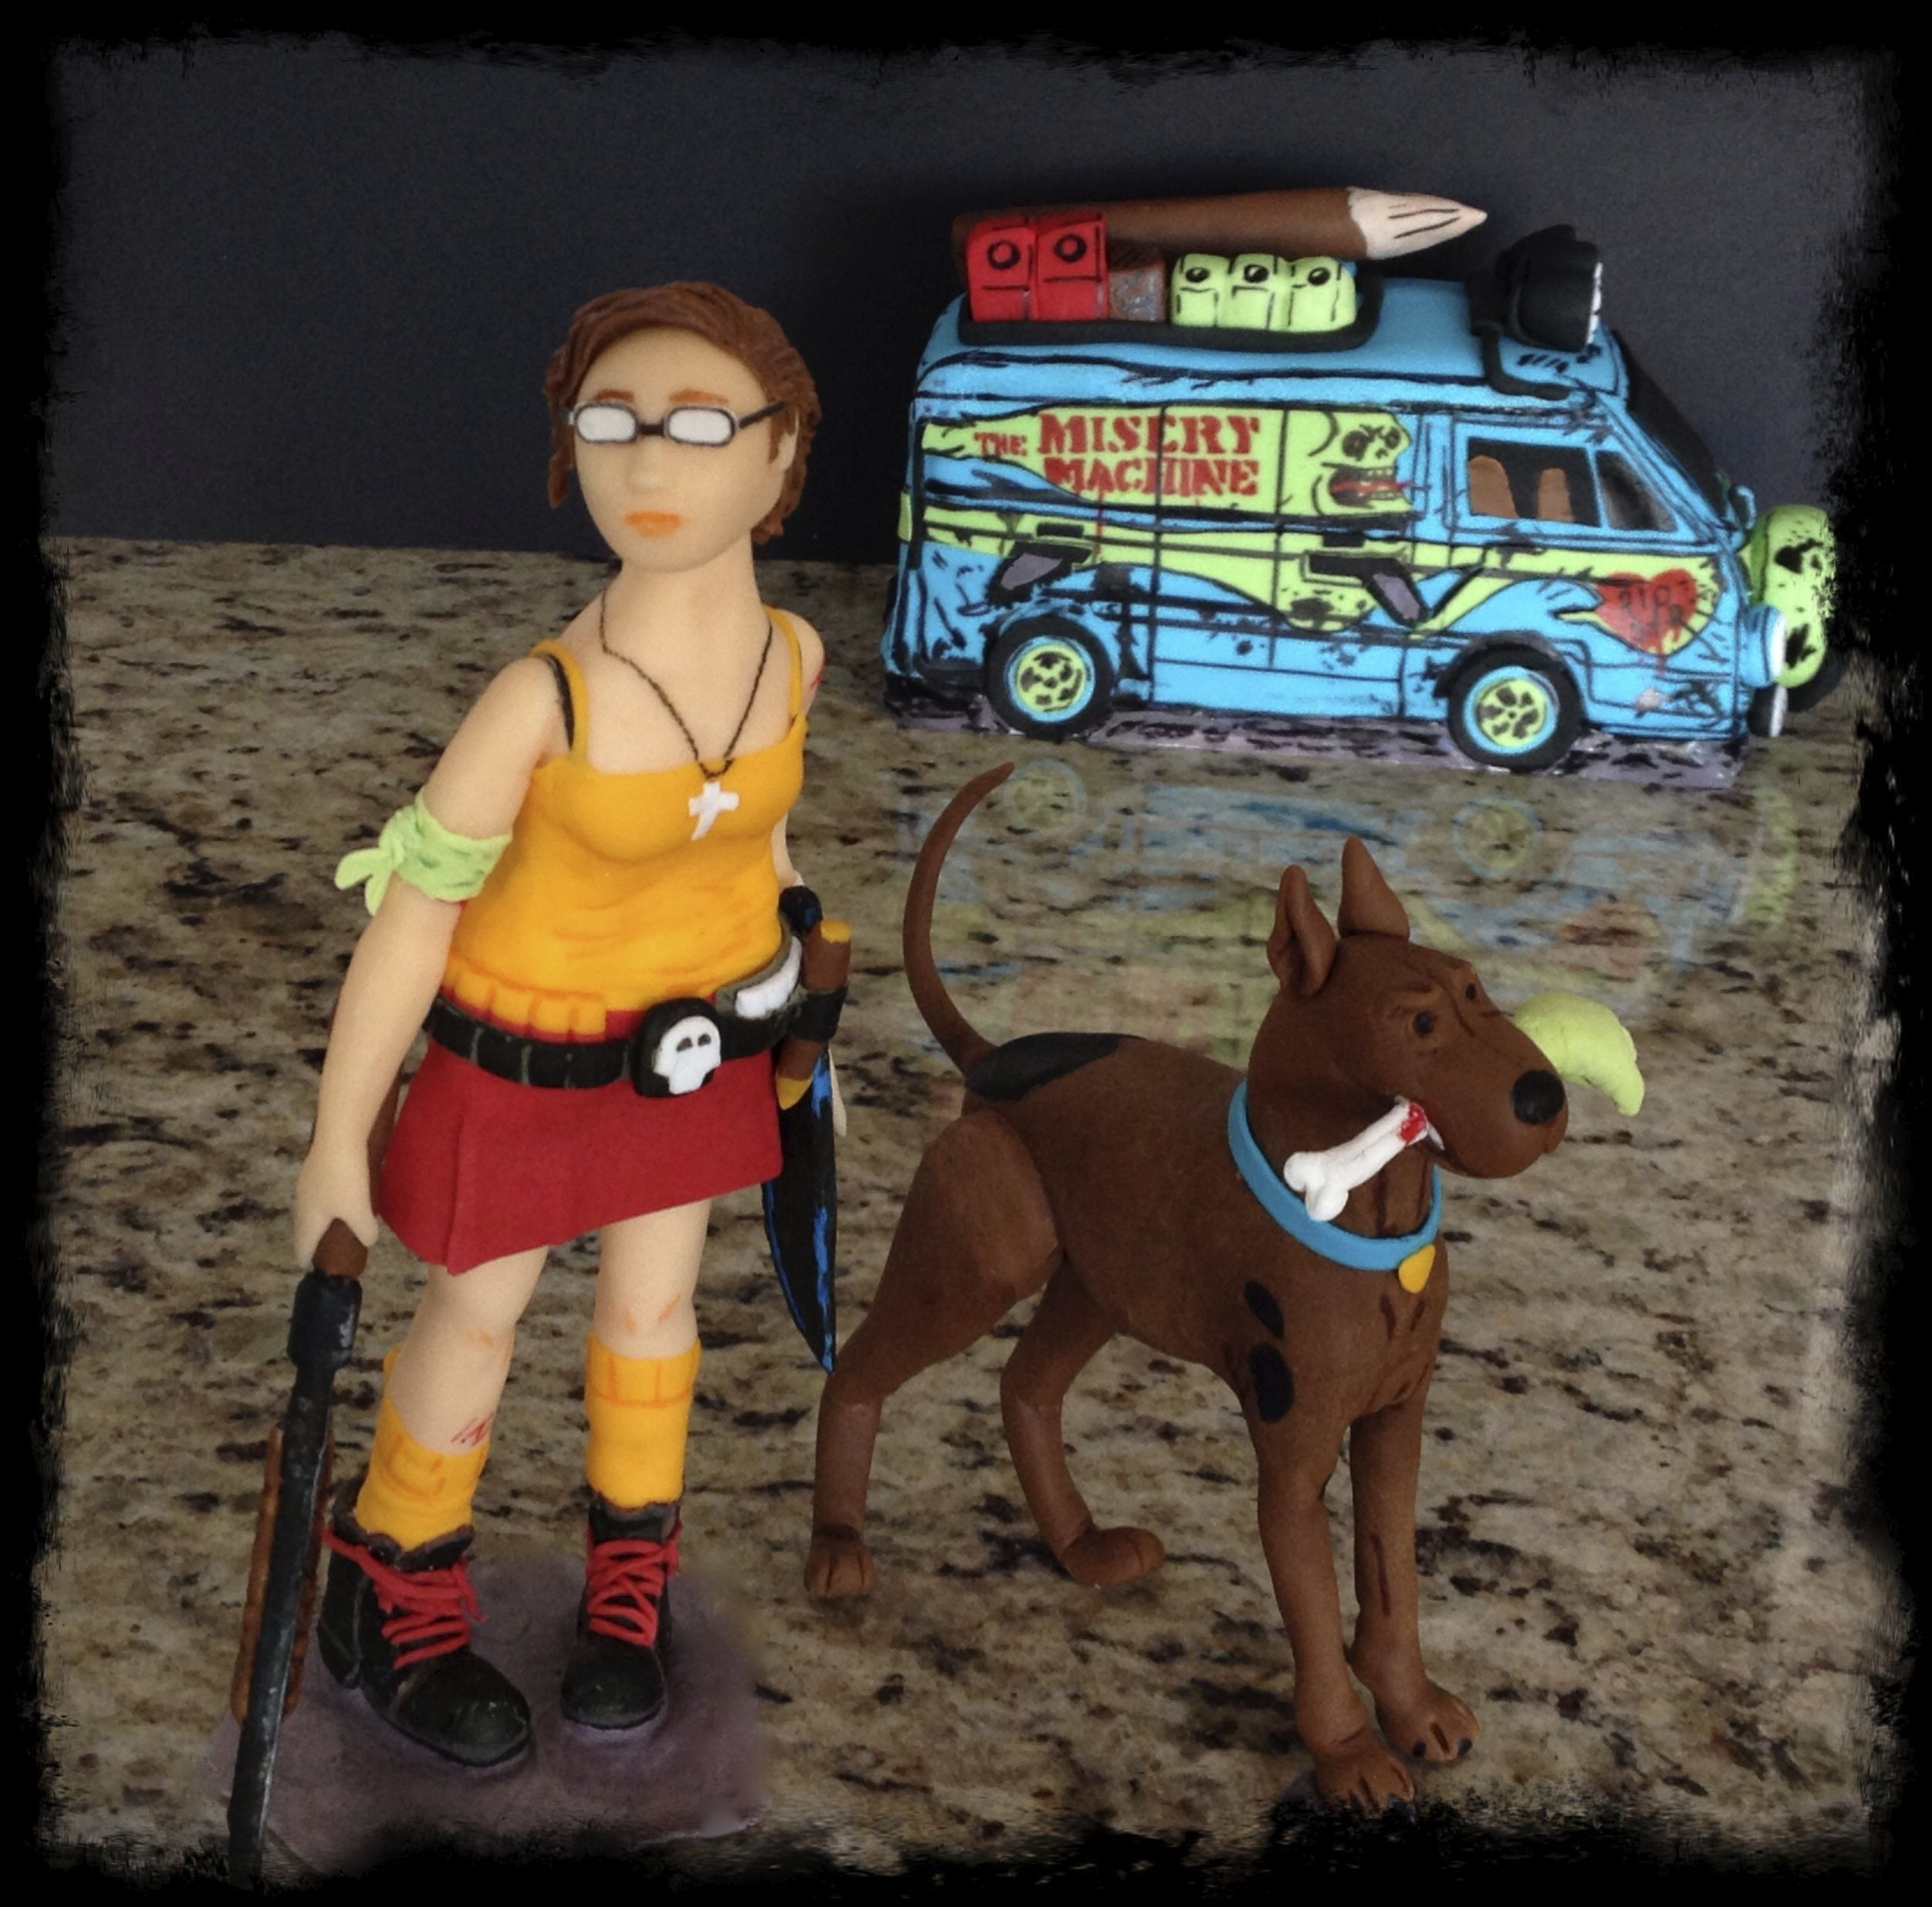
I have loved Scooby Doo since I was a little kid and I have wanted to make this design into a cake for a while. I decided the Mystery Machine or rather Misery Machine as it is in this version, was going to be the cake part, and the characters I would try and figure-model.
It took me a full week to get Velma done and about 3 days for Scooby (I don't know the exact hours as I didn't keep track, just worked on it when I could). I wanted the individual pieces to be fully dried before I assembled them.
Basically I looked at it as if it were an action figure where you could take the pieces apart – like back in the day when my brother used to disassemble his GI Joes and make up new ones!
For the medium, I used just plain old fondant mixed with a little CMC powder so that it would firm up and hopefully be sturdy enough to stand. That was the main challenge – the standing. I decided to go with that old GI Joe idea – the little green army men version, that had the round bases and could stand on their own. All parts were made using fondant mixed with CMC. The parts were firm but not as rigid and fragile as with straight gumpaste.
Velma: I started with two cake pop sticks as the internal support and modeled legs and boots onto them and added a clump of fondant as the “torso” base that was meant to hold the sticks together but I should have taken more care to make this a lot thinner, as the actual torso modeling over top and “clothes” bulked it up and Velma ended up a little “chunkier” than in the design…! Lesson learned! I used a toothpick in the boots so that they would provide extra support when attaching to the base. I let these dry for about a day.
From there I made each part – arms, head and accessories (shotgun and knife) and let them dry fully before attaching. I glued the shotgun into her right hand with gum glue and let that dry really well.
In the meantime, I “dressed” her, trying to roll the fondant as thin as I could so as not to make her thicker than she already was! Glued everything on with gum glue as well as the accessories – belt etc. and this actually held so well that when she accidently took a dive off the table, the only thing that broke was her skirt, which I managed to repair – all the other parts remained intact! Yay gum glue! I didn’t use any supports like toothpicks for the arms – just glued them on with gum glue.
Coloured the fondant with gel colours and used them also to paint parts, as well as using black food markers to add some details.
Scooby: I used chocolate fondant, again mixed with some CMC, for him. I tried to use toothpicks for support in the front legs but it made his legs too thick so decided to just let them dry really well and be really careful handling them! The only support for him was a toothpick to attach the head to his body and for one of the back legs that just wouldn’t hold. The front legs once dried held nicely and turned out to not be as fragile as I had thought they would be, although I think one of them must have moved while drying (I dried him upside down) as it ended up slightly shorter or angled or something and it made him a bit tilted so I had to add a bit of fondant under that paw to make him stand straighter. I made Scooby the same way as Velma, in parts that were dried well and then glued together with gum glue.
Misery Machine: I basically just baked a rectangular cake (like a slab cake) and carved it into the shape of the van, iced it, and then covered it in fondant. I used a combo of markers and fondant to add the details to the van. I didn’t want to make a giant cake for this though and that made it a bit difficult when trying to get the perspective and angles right for the photos. After I looked at the photos I wasn’t happy with them – the board I chose was not long enough to put the Misery Machine far enough back and it just didn’t look right.
I ditched the board and decided to use my marbled countertop as the ground, hence Velma’s stand base is not exactly a match for the ground. It’s a little busy but I think I took better photos than on the board. I am a crap cake photographer anyway, so I didn’t quite achieve that “money shot” that is the original design, but it was fun posing the figures!
More from Samantha Friday
 2D 2nd place
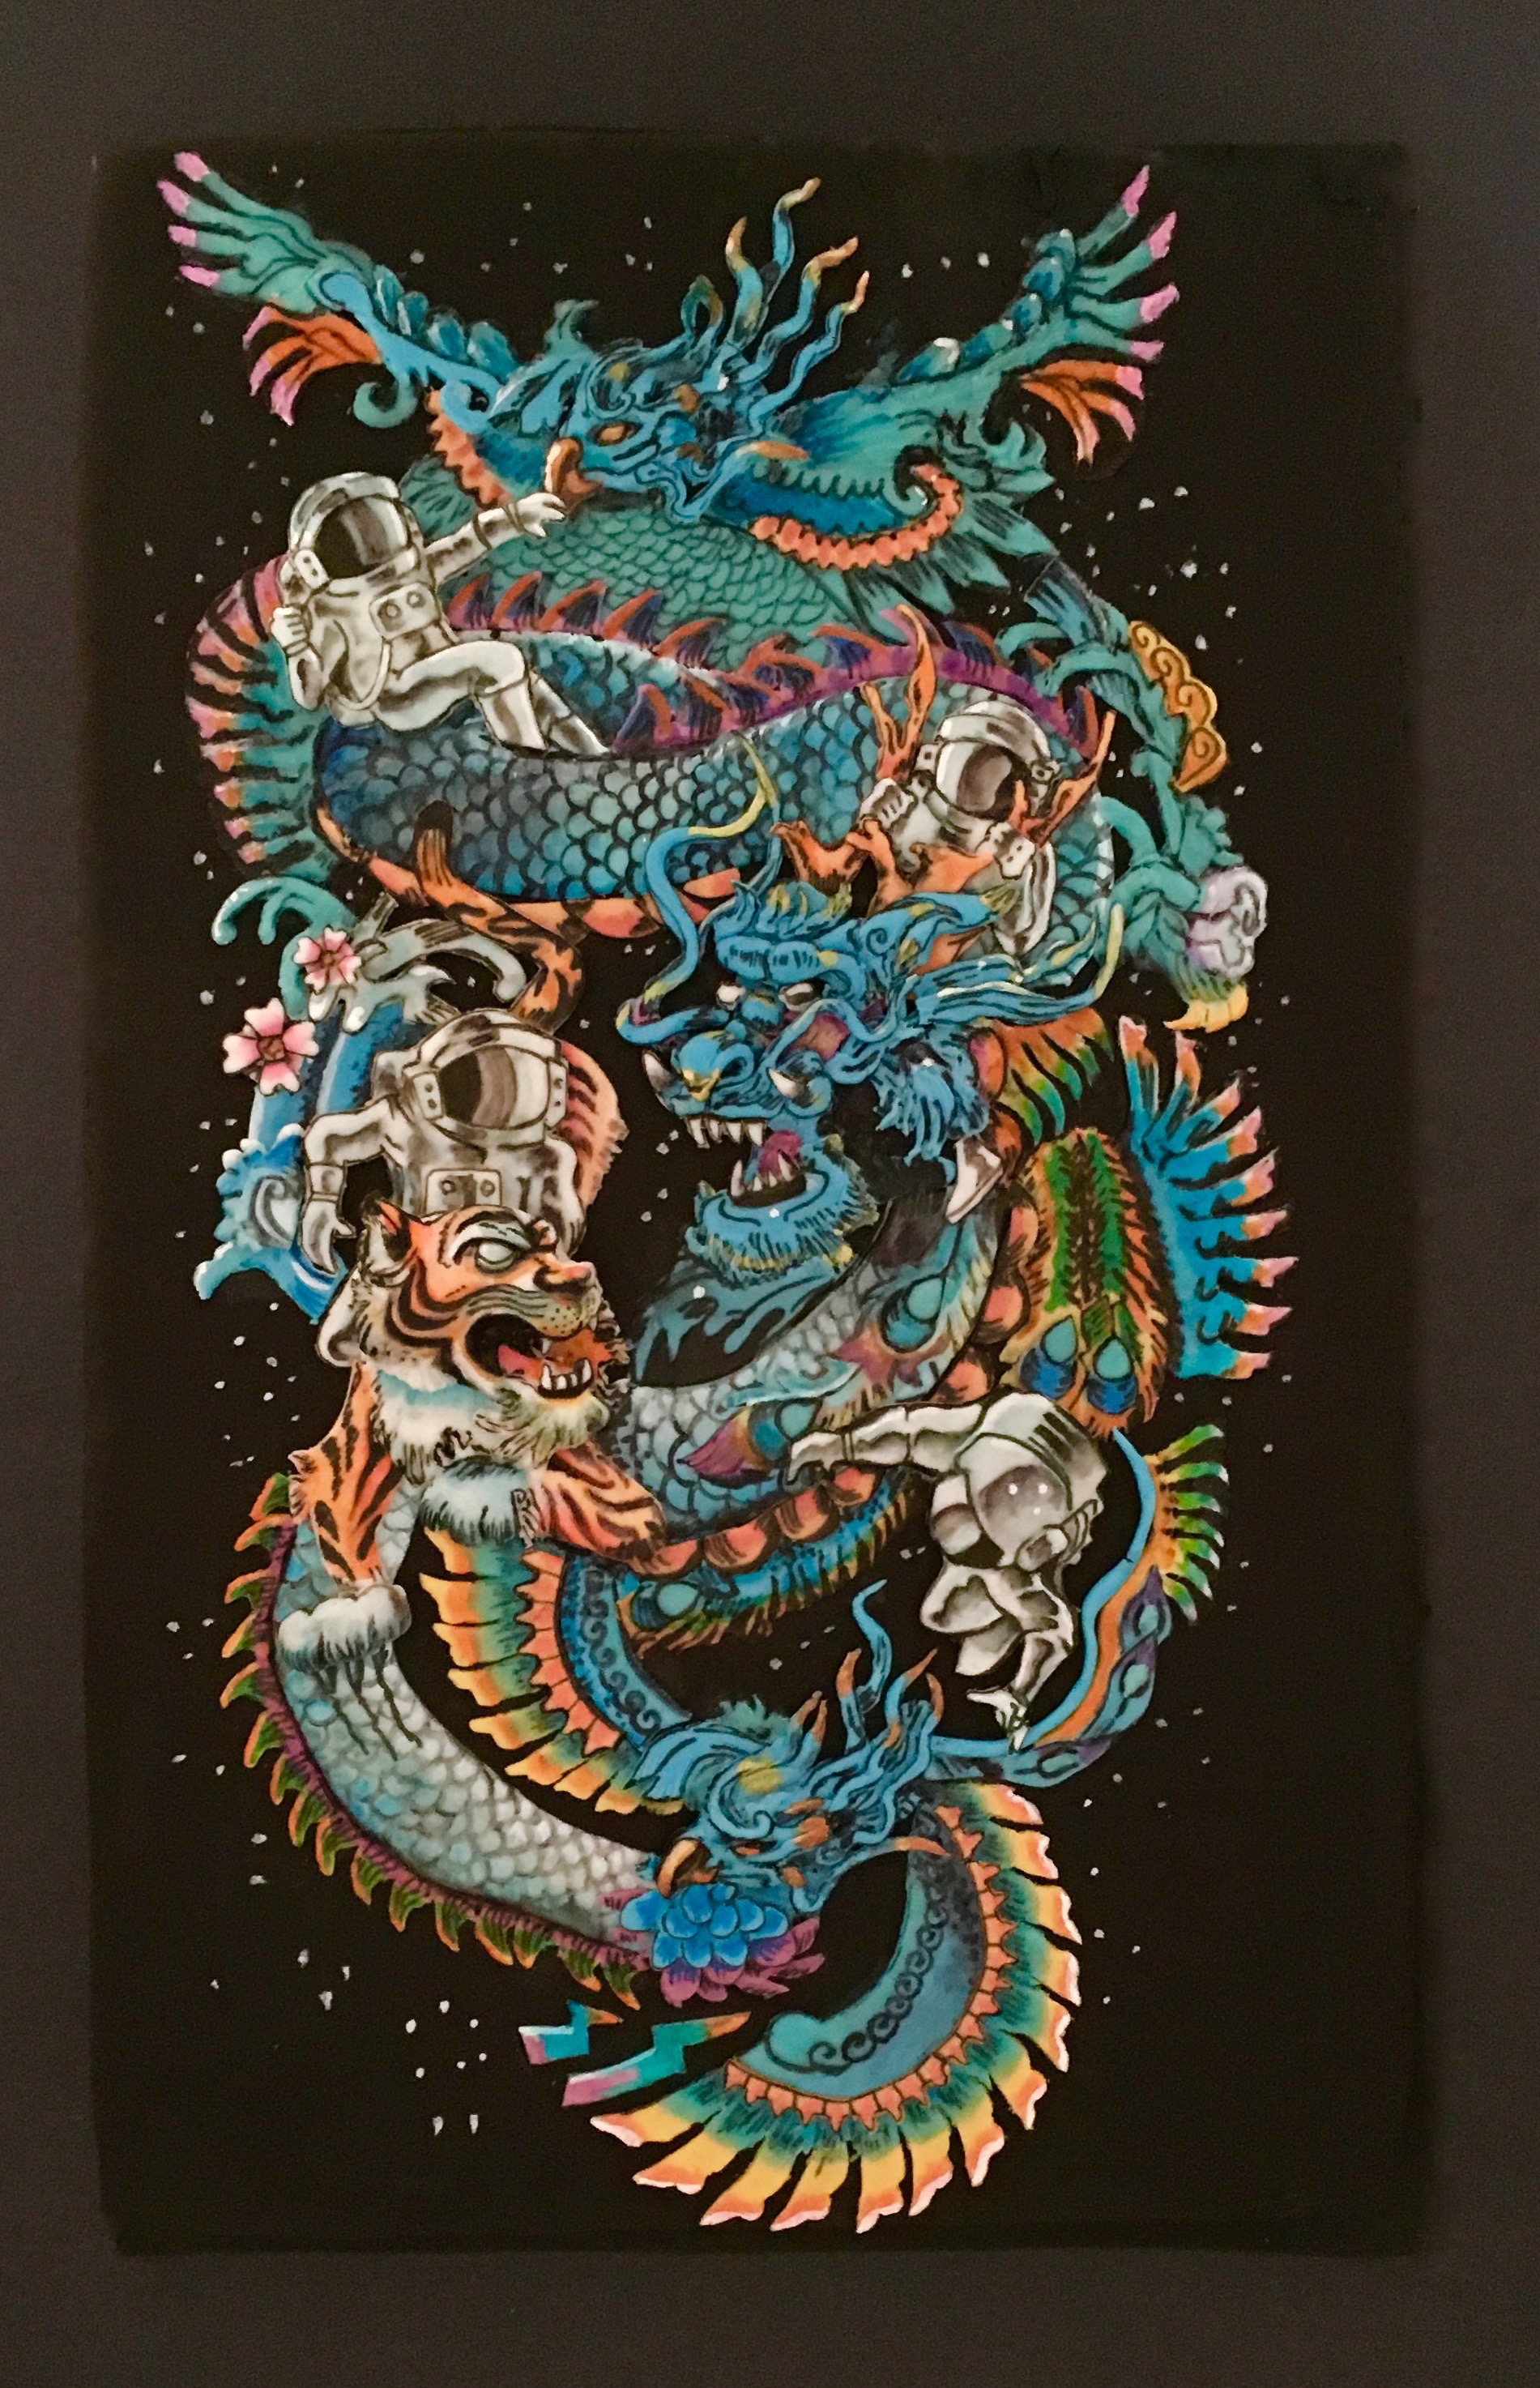
New Space Found
by Samantha Friday · 2016
 3D
3DMake Art Not War
by Samantha Friday · 2015
 2D Finalist2
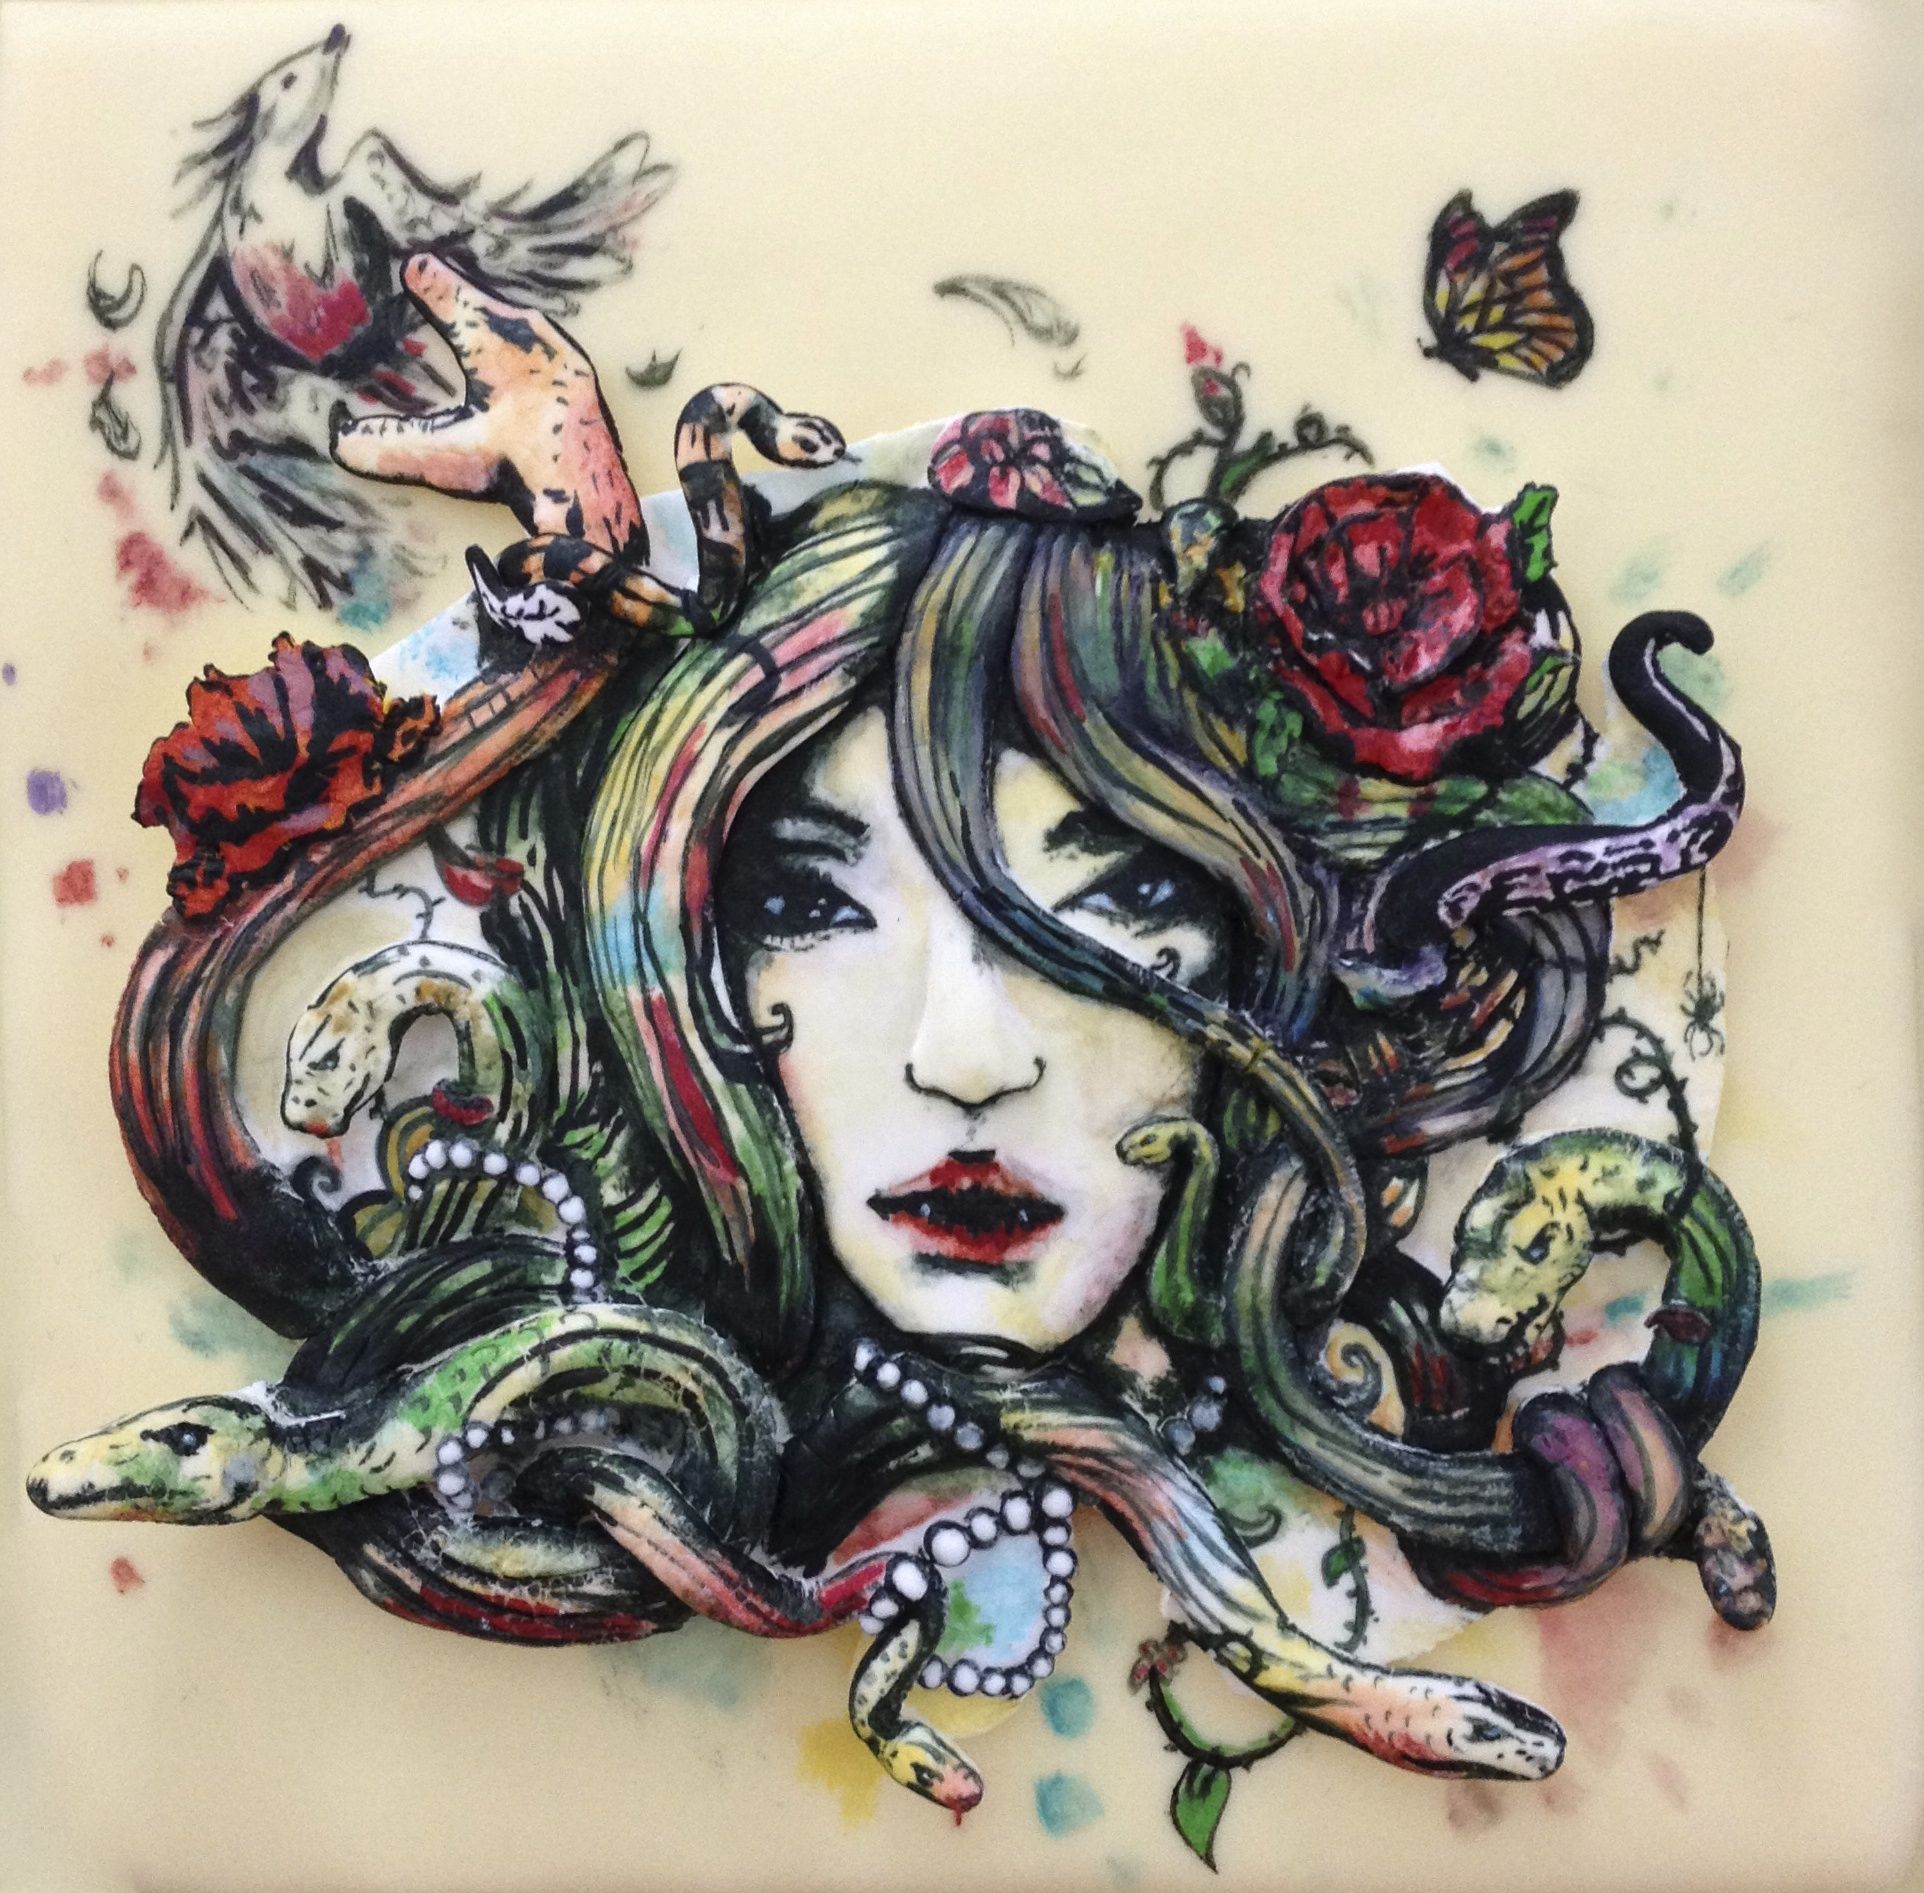
Beauty before Death
by Samantha Friday · 2014
 3D Finalist
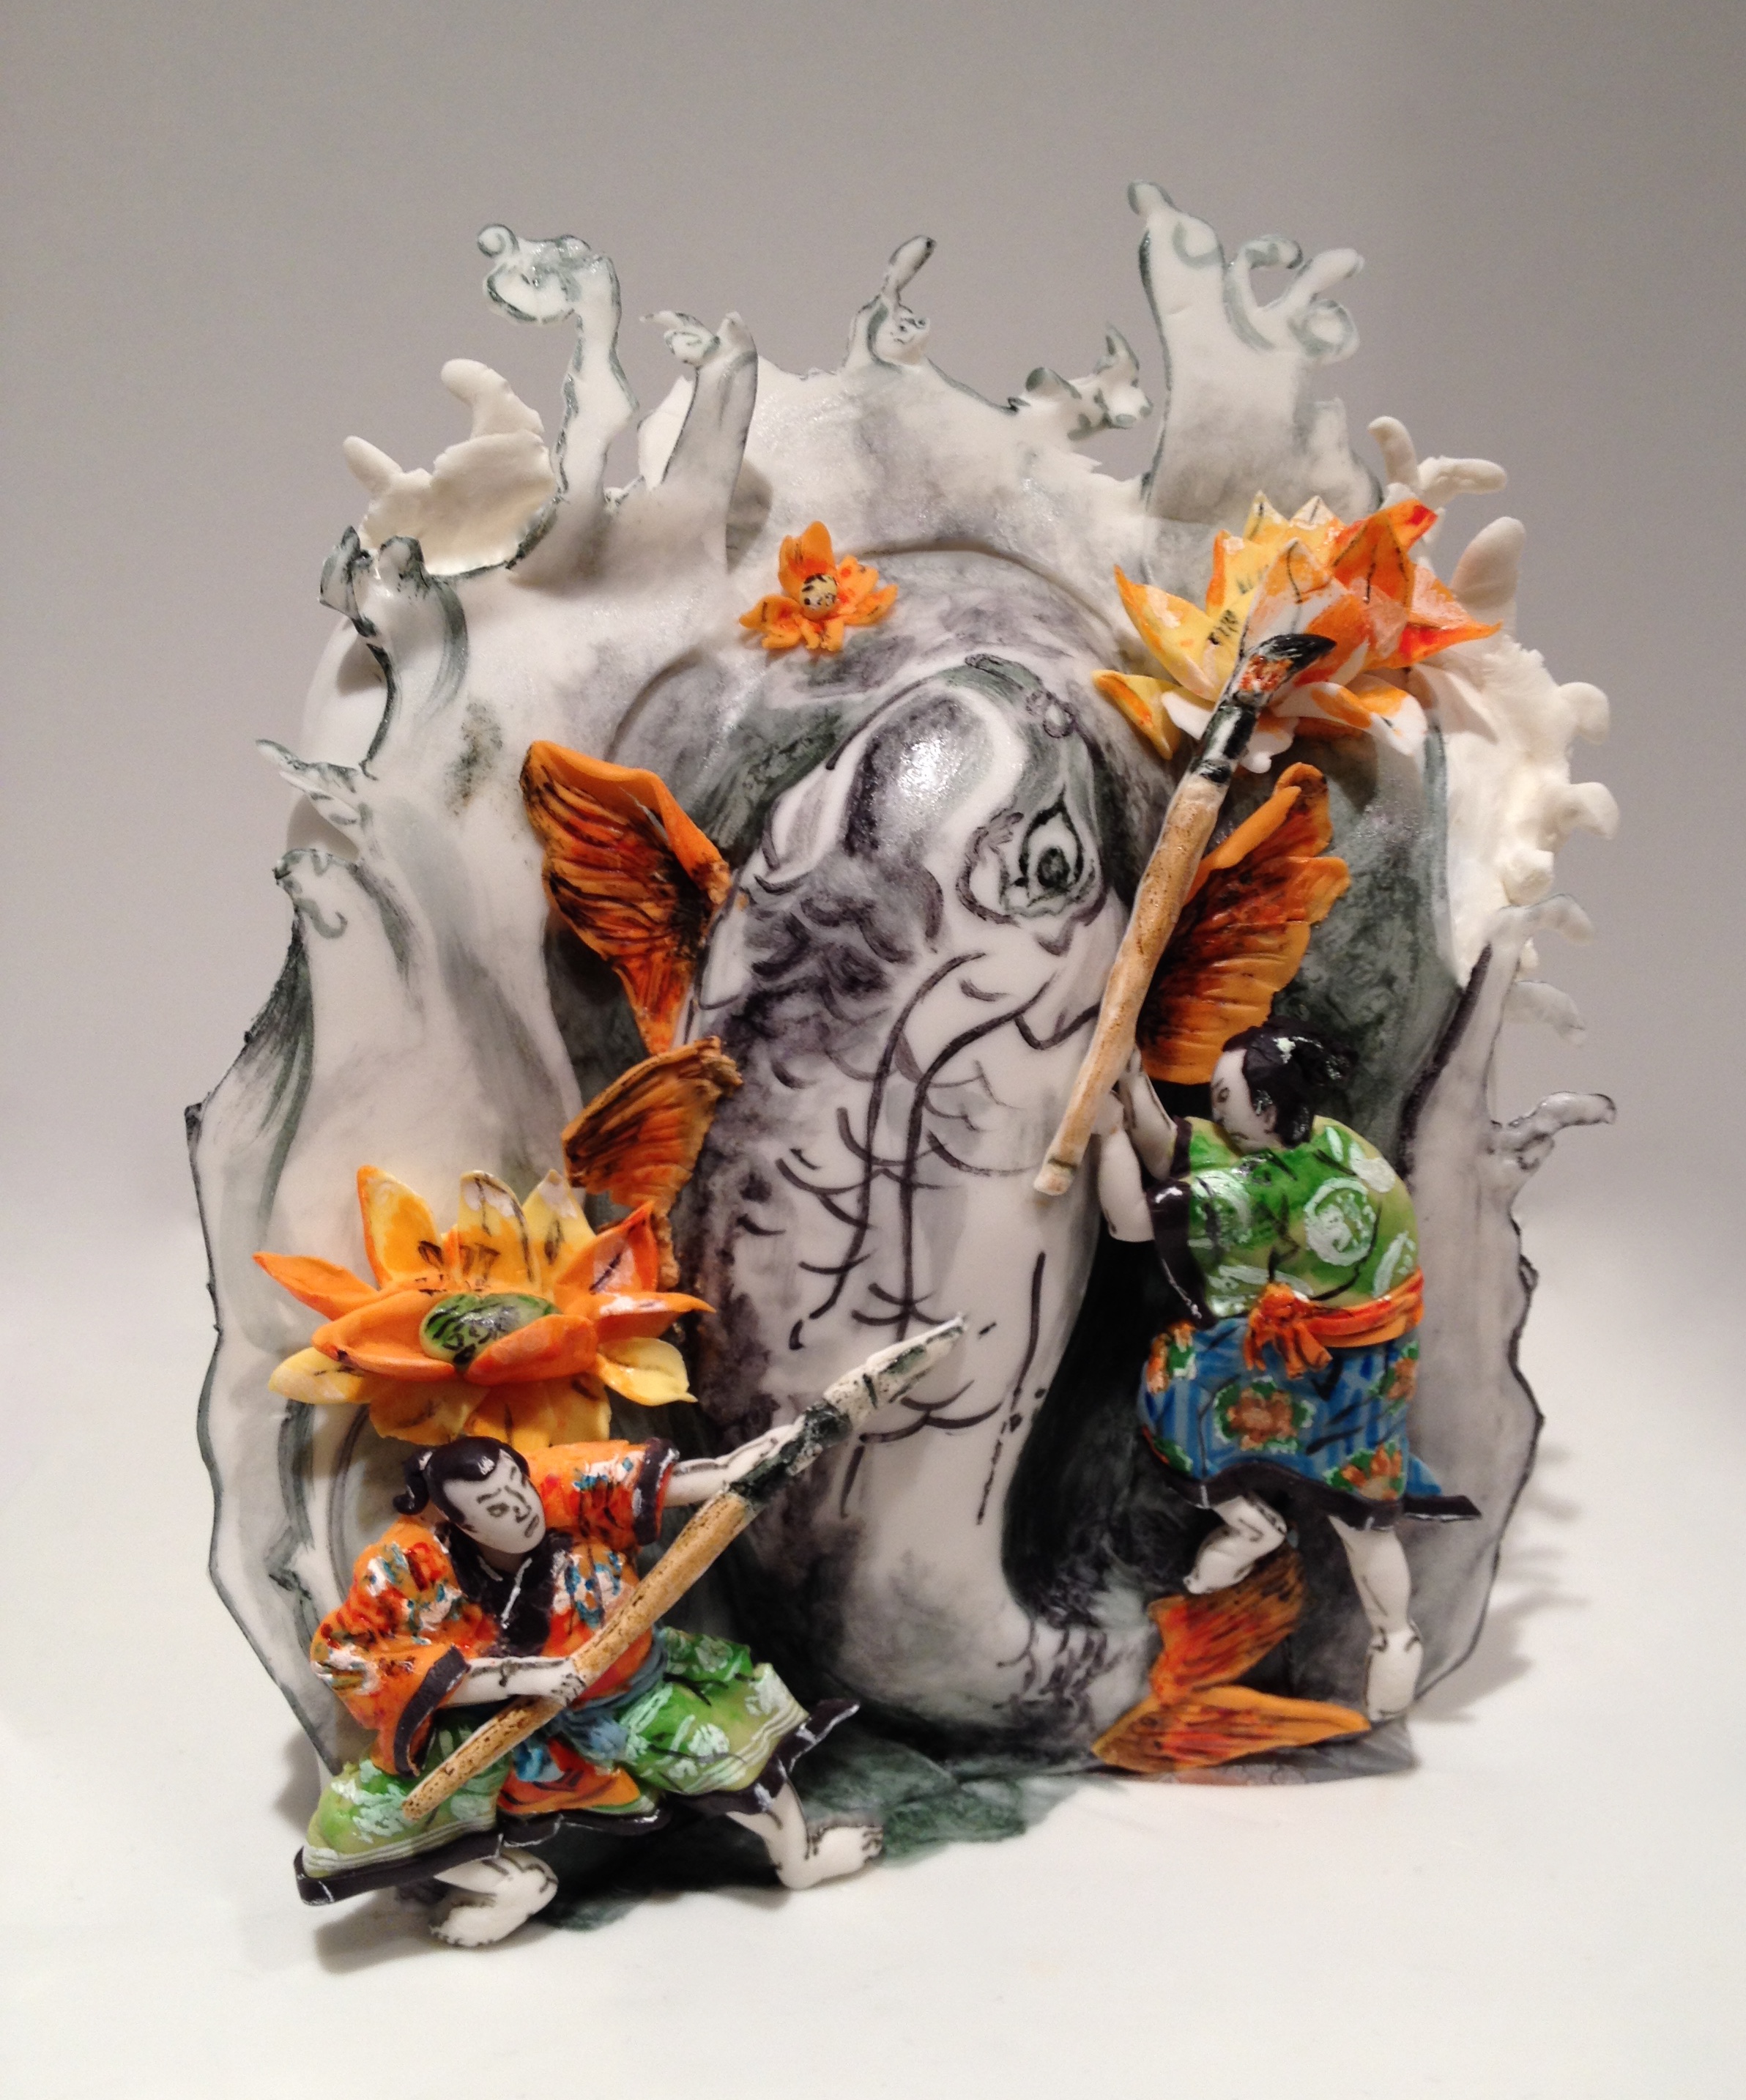
Marinota
by Samantha Friday · 2013
 2D 3rd place1
Tokyo Extreme Part 2
by Samantha Friday · 2013
 2D Finalist20
A Butterfly Effect
by Samantha Friday · 2012