3D
Clean Monster
by Tracey Stadelmann · submitted Jul 20, 2010 · 2010 contest
1 / 23
Description
The Threadcakes competition happened to (luckily) coincide with my university holidays so it seemed like a perfect opportunity to test out my baking skills. I knew my first Threadcakes entry had to be monster/dinosaur related and this design has long been a favourite of mine. So with my design decided upon and my plan all worked out I began the monster task of creating this cake. Overall the cake took me about one and a half days to complete.
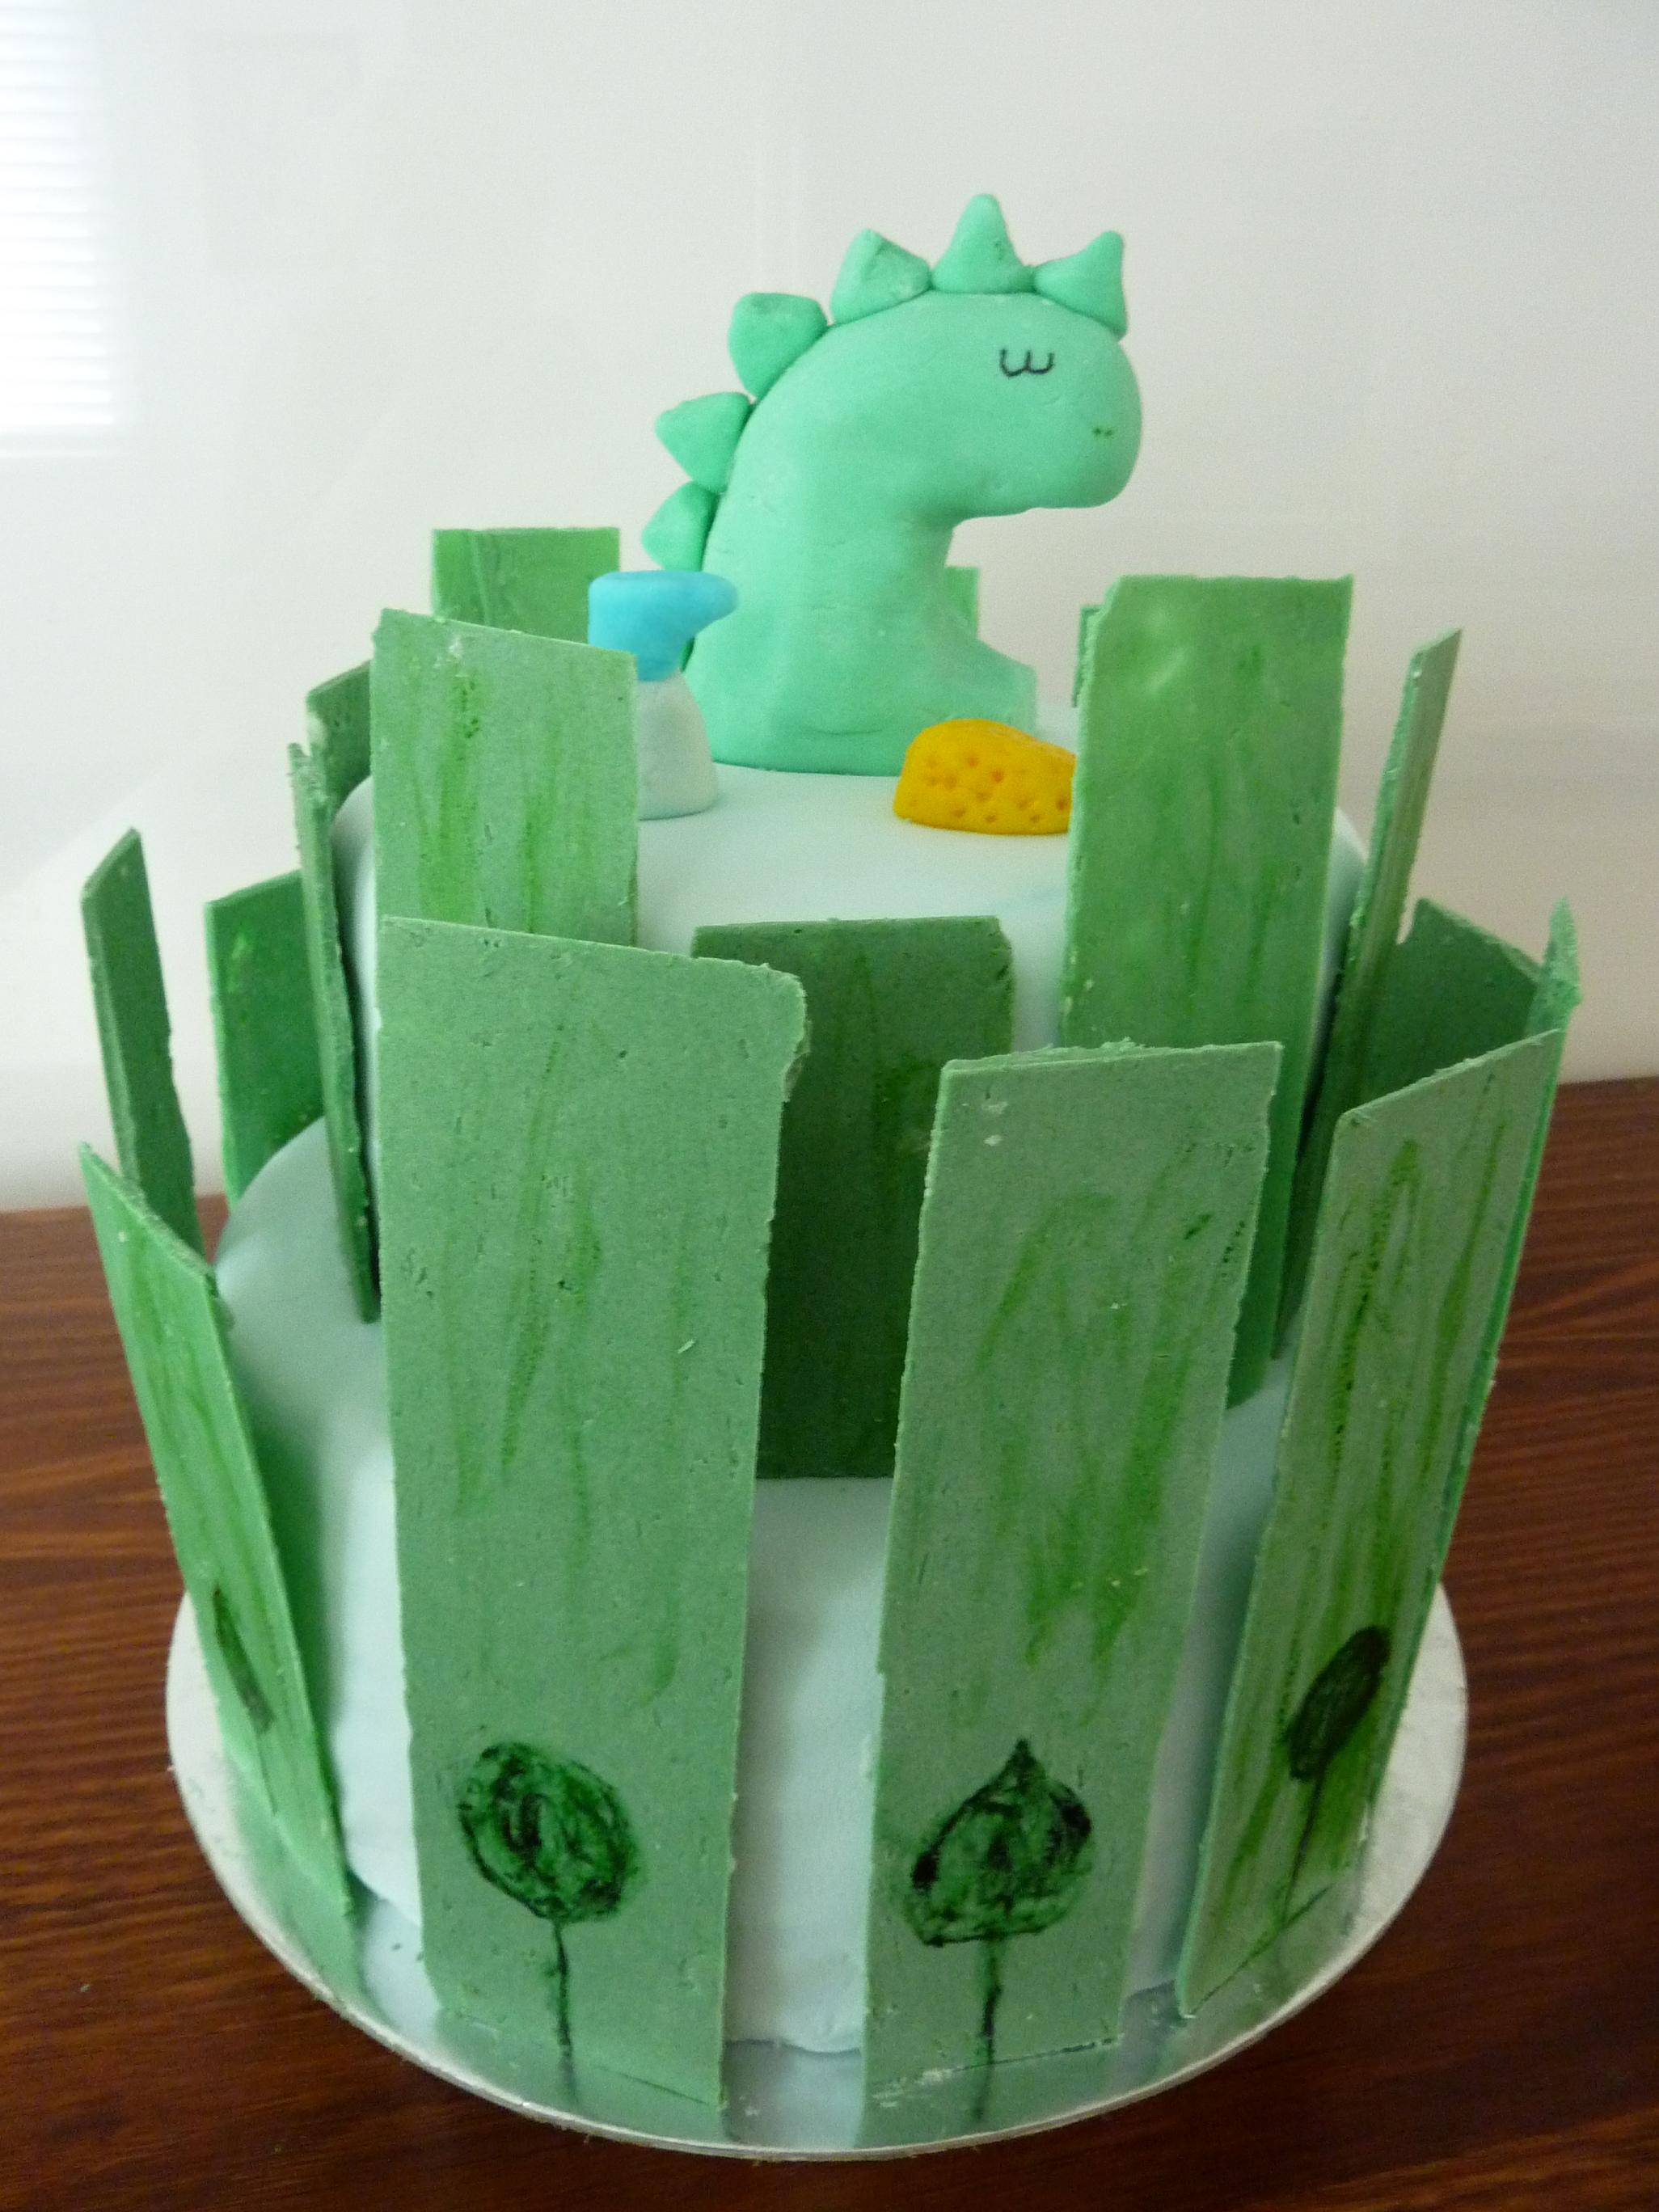
As the success of this cake was entirely dependant upon me being able to temper, colour and then shape white chocolate for the buildings, I thought that this may be the most suitable place to start. I used a mixture of white cooking and white eating chocolate which I then tempered (so it would set hard) and dyed green. After getting the chocolate to a workable consistency I spread it into rectangles and once semi-dry trimmed the edges. Once I was happy with the result, I started on the cake.
All up I made 4 separate chocolate sponge cakes, two 26cm cakes for the base and two 20cm cakes for the top layer. After baking the cakes I sandwiched them with chocolate butter cream and spread a layer of vanilla butter cream around the perimeter of the cake to help hold the icing.
I used fondant icing which after one failed attempt I was able to dye to a pastel blue colour. After rolling out the icing, I transferred it over to each of the separate layer and smoothed both the cakes out.
Next I got to work finishing off the white chocolate buildings. I used a mixture of green gel food dye and water to create the “paint” for the trees. Using a fine paint brush I painted on the trees as well as some streaks to add a bit more colour to the buildings. I let these dry and started moulding my little monster. The monster, as well as the sponge and window cleaner were made out of fondant which I dyed. After completing the monster, I needed to support his head while he dried so it wouldn’t just fall off. I used food dye once again to paint on his eyes and nose.
Now came the fun part, assembling the cake! I started by layering the bottom and top parts of the cake. Then using some royal icing I had made up, I began sticking each of the buildings around the outside of the cake. Once this was all completed all that was left was to position my monster and his cleaning supplies.