3D
Duck Tape
by Kat Rainville · submitted Aug 2, 2011 · 2011 contest
1 / 13
Description
The idea of playing with duct-tape has always fascinated me. I have been known to have several rolls at a time, and have used them for such things as creating a decorative boarder on frame part of a cork-board to actually building and sculpting odd little things with it. So when I saw the "Duck Tape" pattern on the Threadless shirt, I just couldn't help myself...I had to make it.
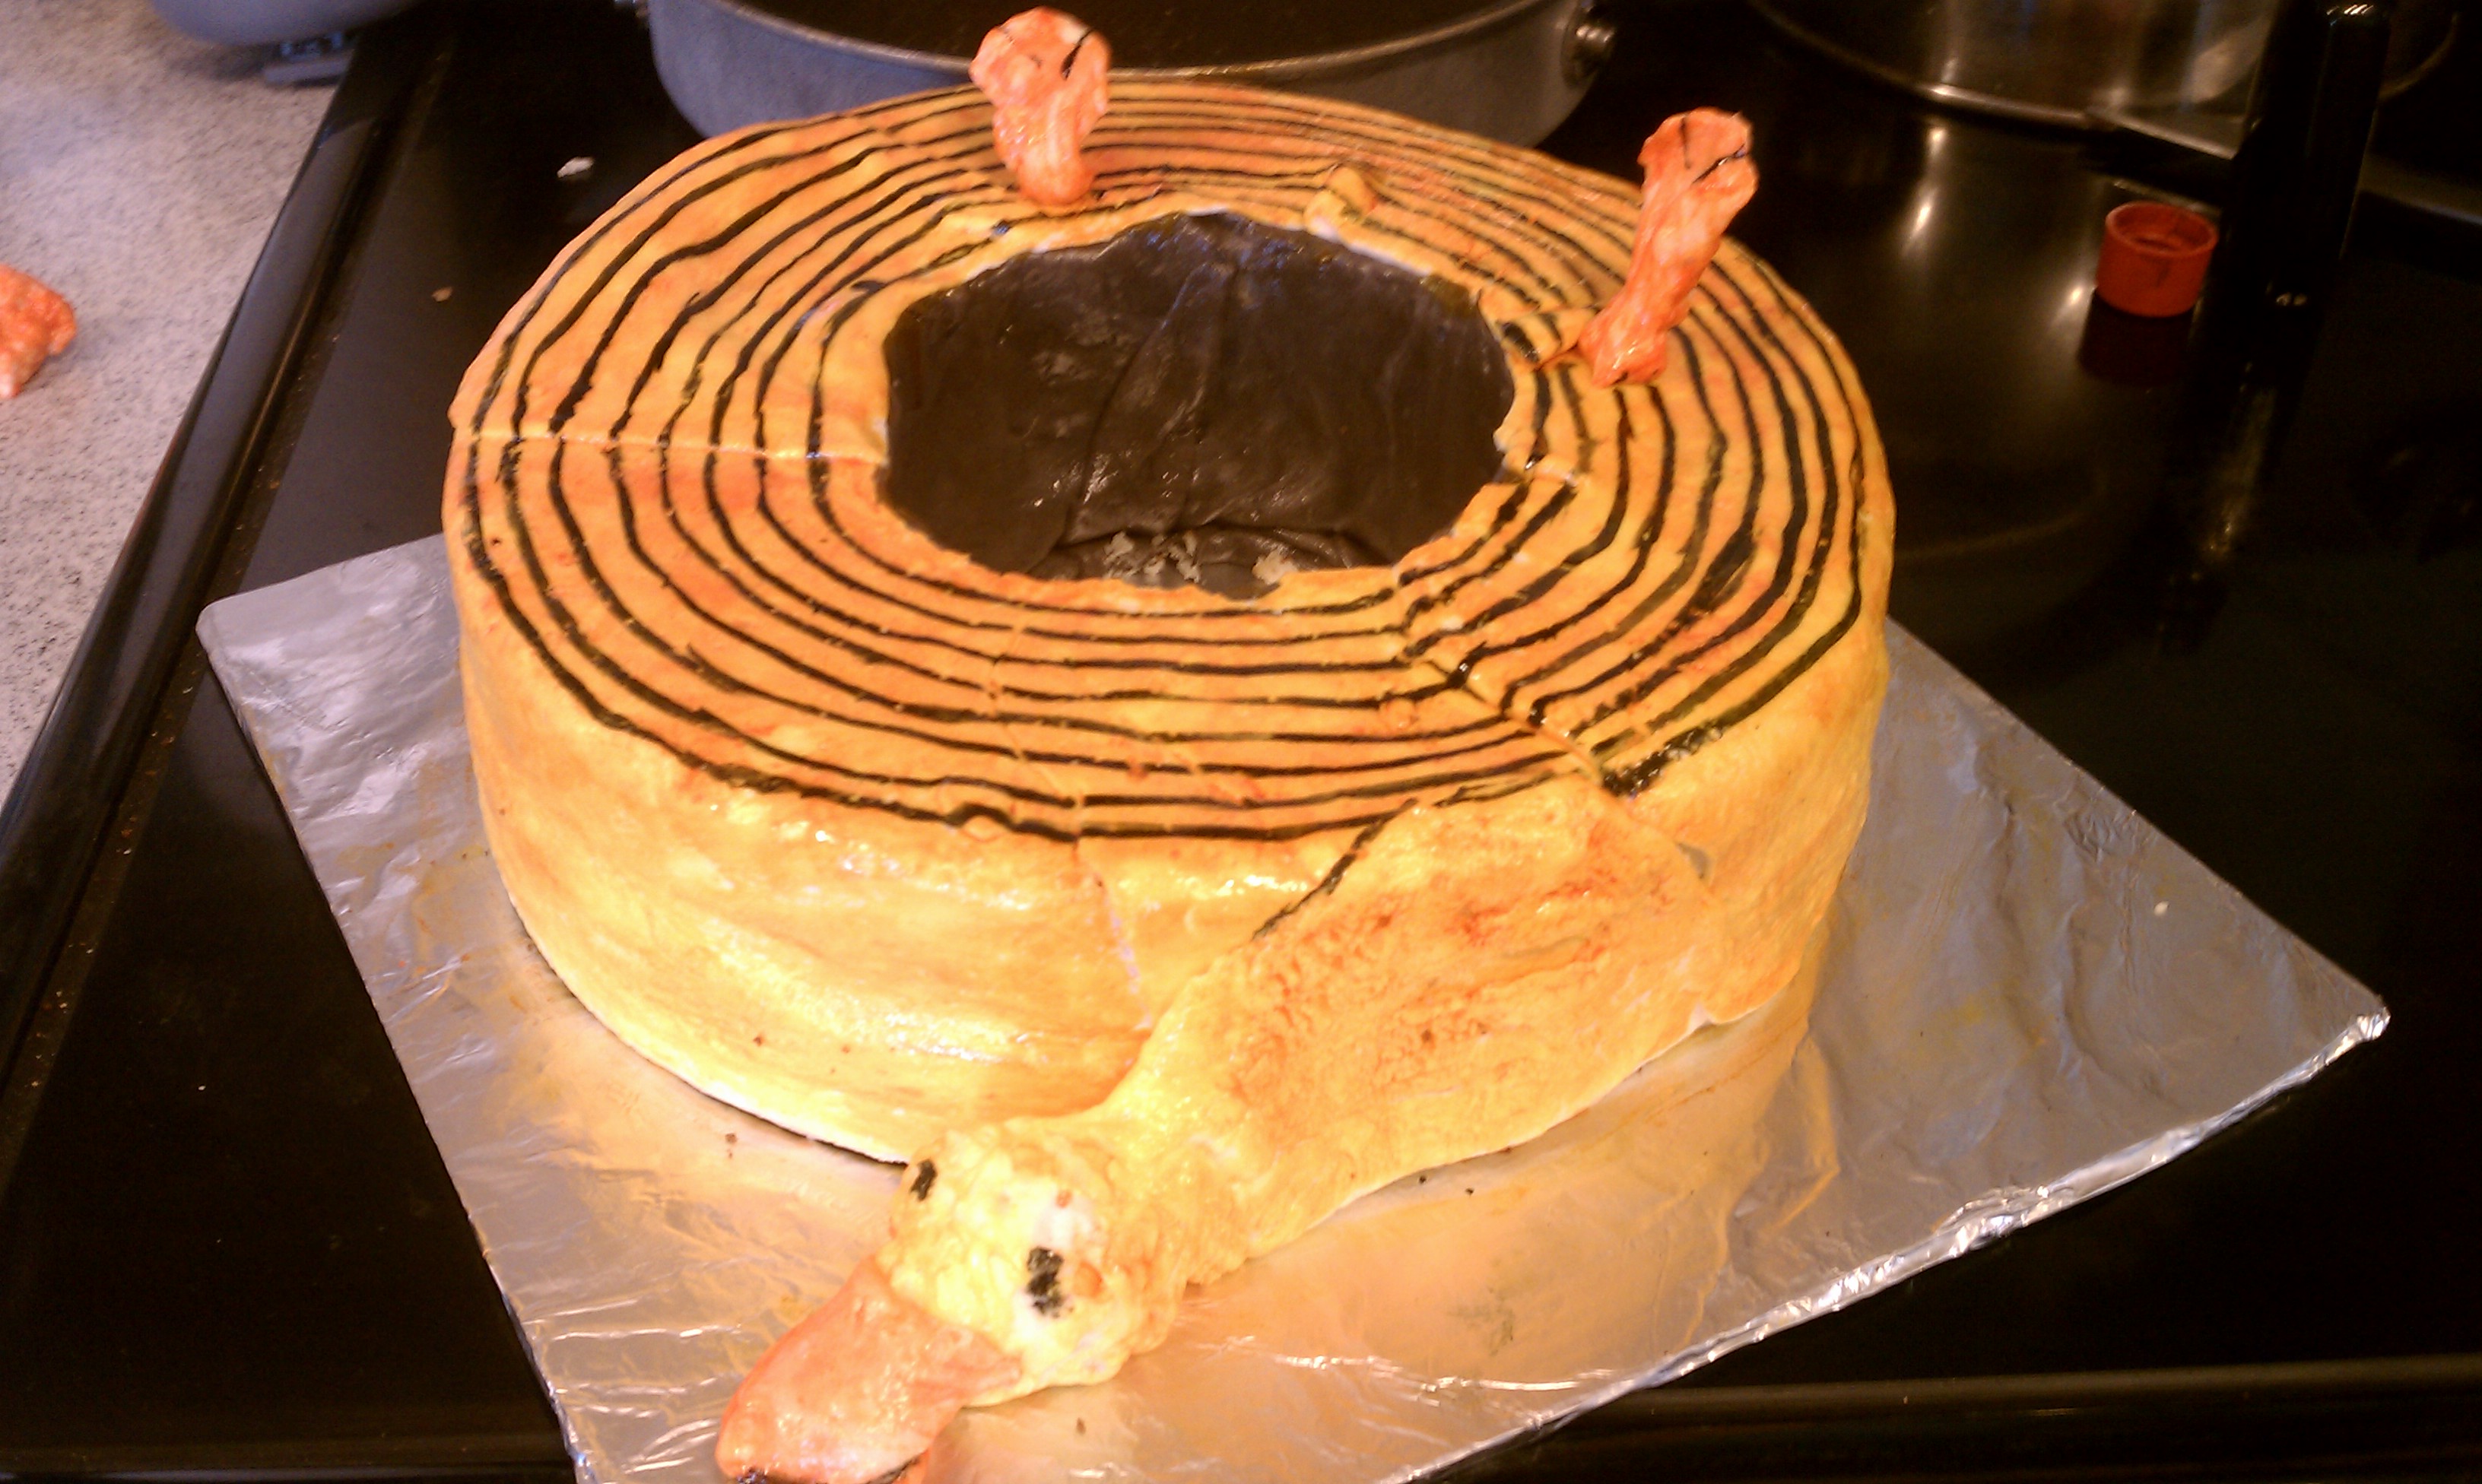
The cake started out in a very simple baking process, but since I wanted to keep it relatively flat, I omitted a touch of the baking powder. This saved me shaving the cake. While the cake itself was in the oven, I started on the fondant, which as my son laughed at me trying to later wash off my hands I described to him as the consistency of chewed bubble-gum. The particular fondant I used was a marshmallow based recipe, which saved me having to gather more then just a few ingredients. I've also found that it tastes much better then a traditional one that includes glycerin and other ingredients that I don't typically have hanging around my cupboards. Thankfully I finished kneading the fondant a couple minutes before the cakes came out of the oven. They cooled over night while the fondant "set" in the fridge over night. The next evening I stacked and cut out the middle of the cake (as this is where the roll is in duct tape) and began rolling, and rolling, and rolling fondant out on my counter, placing it as it was done around the cake. Now the middle fondant (the kinda dark grey) I specifically died before putting into the cake, whereas the rest of the cake I put on white and painted the color on with my hands. Once the main part of the cake was done, I set to work making the webbed feet and head/neck. The feet I added color to before shaping, as I did the bill, but the head and the stretched out part of the neck I painted the coloring on so that it would match the rest of the cake. Once all of them were ready, it was as easy as placing them where they needed to go. The feet are in the picture being held in with one tooth pick each; and these tooth picks are the only part of the cake which is inedible. Once the pieces were placed, I pulled out my black dye and food paint brushes, and added the eyes, separated the bill, little lines on the feet to create the webbed definition, and the rings on the top to simulate the rings on a roll of duct-tape. It was pretty late by the time I finished the cake, so we (my son and I) ate some of it the following day. I took the head piece since I'd made it, and he enjoyed the feet.
The cake started out in a very simple baking process, but since I wanted to keep it relatively flat, I omitted a touch of the baking powder. This saved me shaving the cake. While the cake itself was in the oven, I started on the fondant, which as my son laughed at me trying to later wash off my hands I described to him as the consistency of chewed bubble-gum. The particular fondant I used was a marshmallow based recipe, which saved me having to gather more then just a few ingredients. I've also found that it tastes much better then a traditional one that includes glycerin and other ingredients that I don't typically have hanging around my cupboards. Thankfully I finished kneading the fondant a couple minutes before the cakes came out of the oven. They cooled over night while the fondant "set" in the fridge over night. The next evening I stacked and cut out the middle of the cake (as this is where the roll is in duct tape) and began rolling, and rolling, and rolling fondant out on my counter, placing it as it was done around the cake. Now the middle fondant (the kinda dark grey) I specifically died before putting into the cake, whereas the rest of the cake I put on white and painted the color on with my hands. Once the main part of the cake was done, I set to work making the webbed feet and head/neck. The feet I added color to before shaping, as I did the bill, but the head and the stretched out part of the neck I painted the coloring on so that it would match the rest of the cake. Once all of them were ready, it was as easy as placing them where they needed to go. The feet are in the picture being held in with one tooth pick each; and these tooth picks are the only part of the cake which is inedible. Once the pieces were placed, I pulled out my black dye and food paint brushes, and added the eyes, separated the bill, little lines on the feet to create the webbed definition, and the rings on the top to simulate the rings on a roll of duct-tape. It was pretty late by the time I finished the cake, so we (my son and I) ate some of it the following day. I took the head piece since I'd made it, and he enjoyed the feet.