2D
Smiley Factory
by Aja Green · submitted Aug 9, 2010 · 2010 contest
1 / 12
Description
Ok, so the first and most important thing I learned was...have a good camera! and the second thing I learned was, check that the pictures turned out right BEFORE you hack up the cake!!
The first few pics were taken with my phone and the final pics were taken with my new camera that I haven't figured out how to focus very well. There are only a few pictures posted because the photo editor site I was using to resize the 50 or so pics gave up on me!! Seriously!! So I made a little slide show video with the rest.
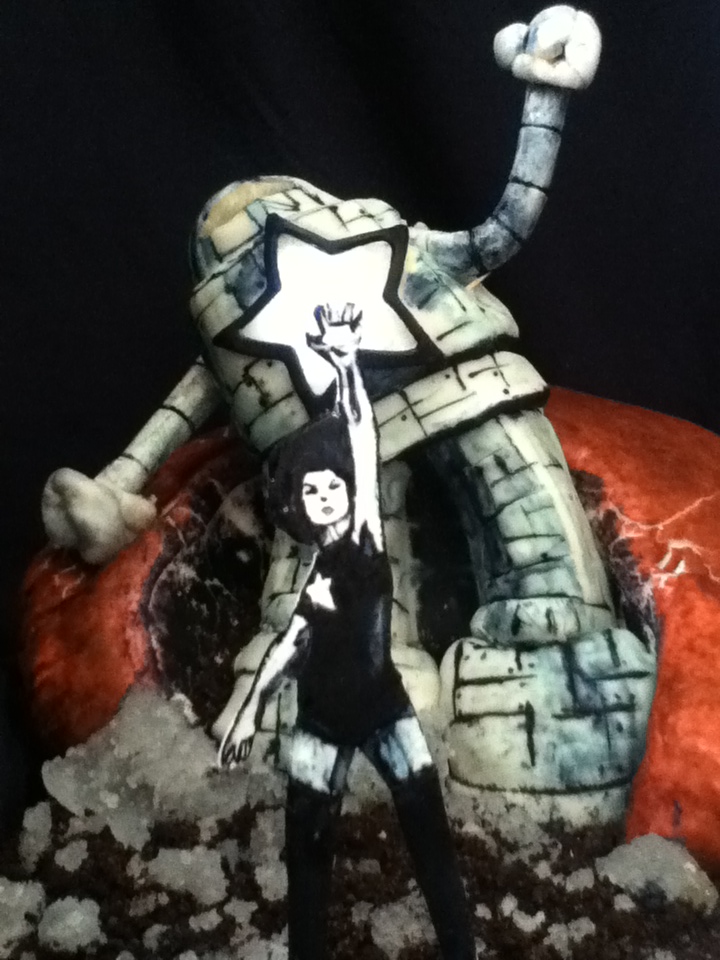
I picked this cake because I can totally relate to Smiley..(btw, we are best friends now) In all it took about a 3 weeks to do this. I did maybe 2-3 faces or machine parts a night (after the kids went to sleep). The faces are fondant. The parts are gumpaste with painted dry spaghetti to help join them. The first face is black fondant then I "dirtied" him up with crushed black sprinkles. Then I took a week off. Did some thinking..ya know..soul searching, some people may call it procrastinating. Came back..and baked the cake!
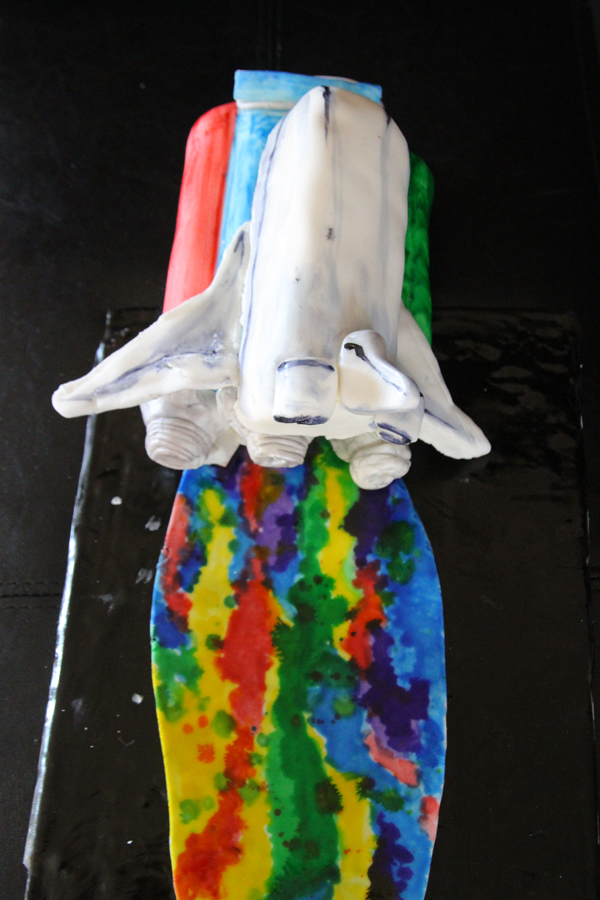
Its a cream cheese pound cake. I made a basic buttercream but added some lemon and orange zest to jazz it up a bit. (oh yeeeah!) Carved and measured (in that order) and then of course..carved some more.
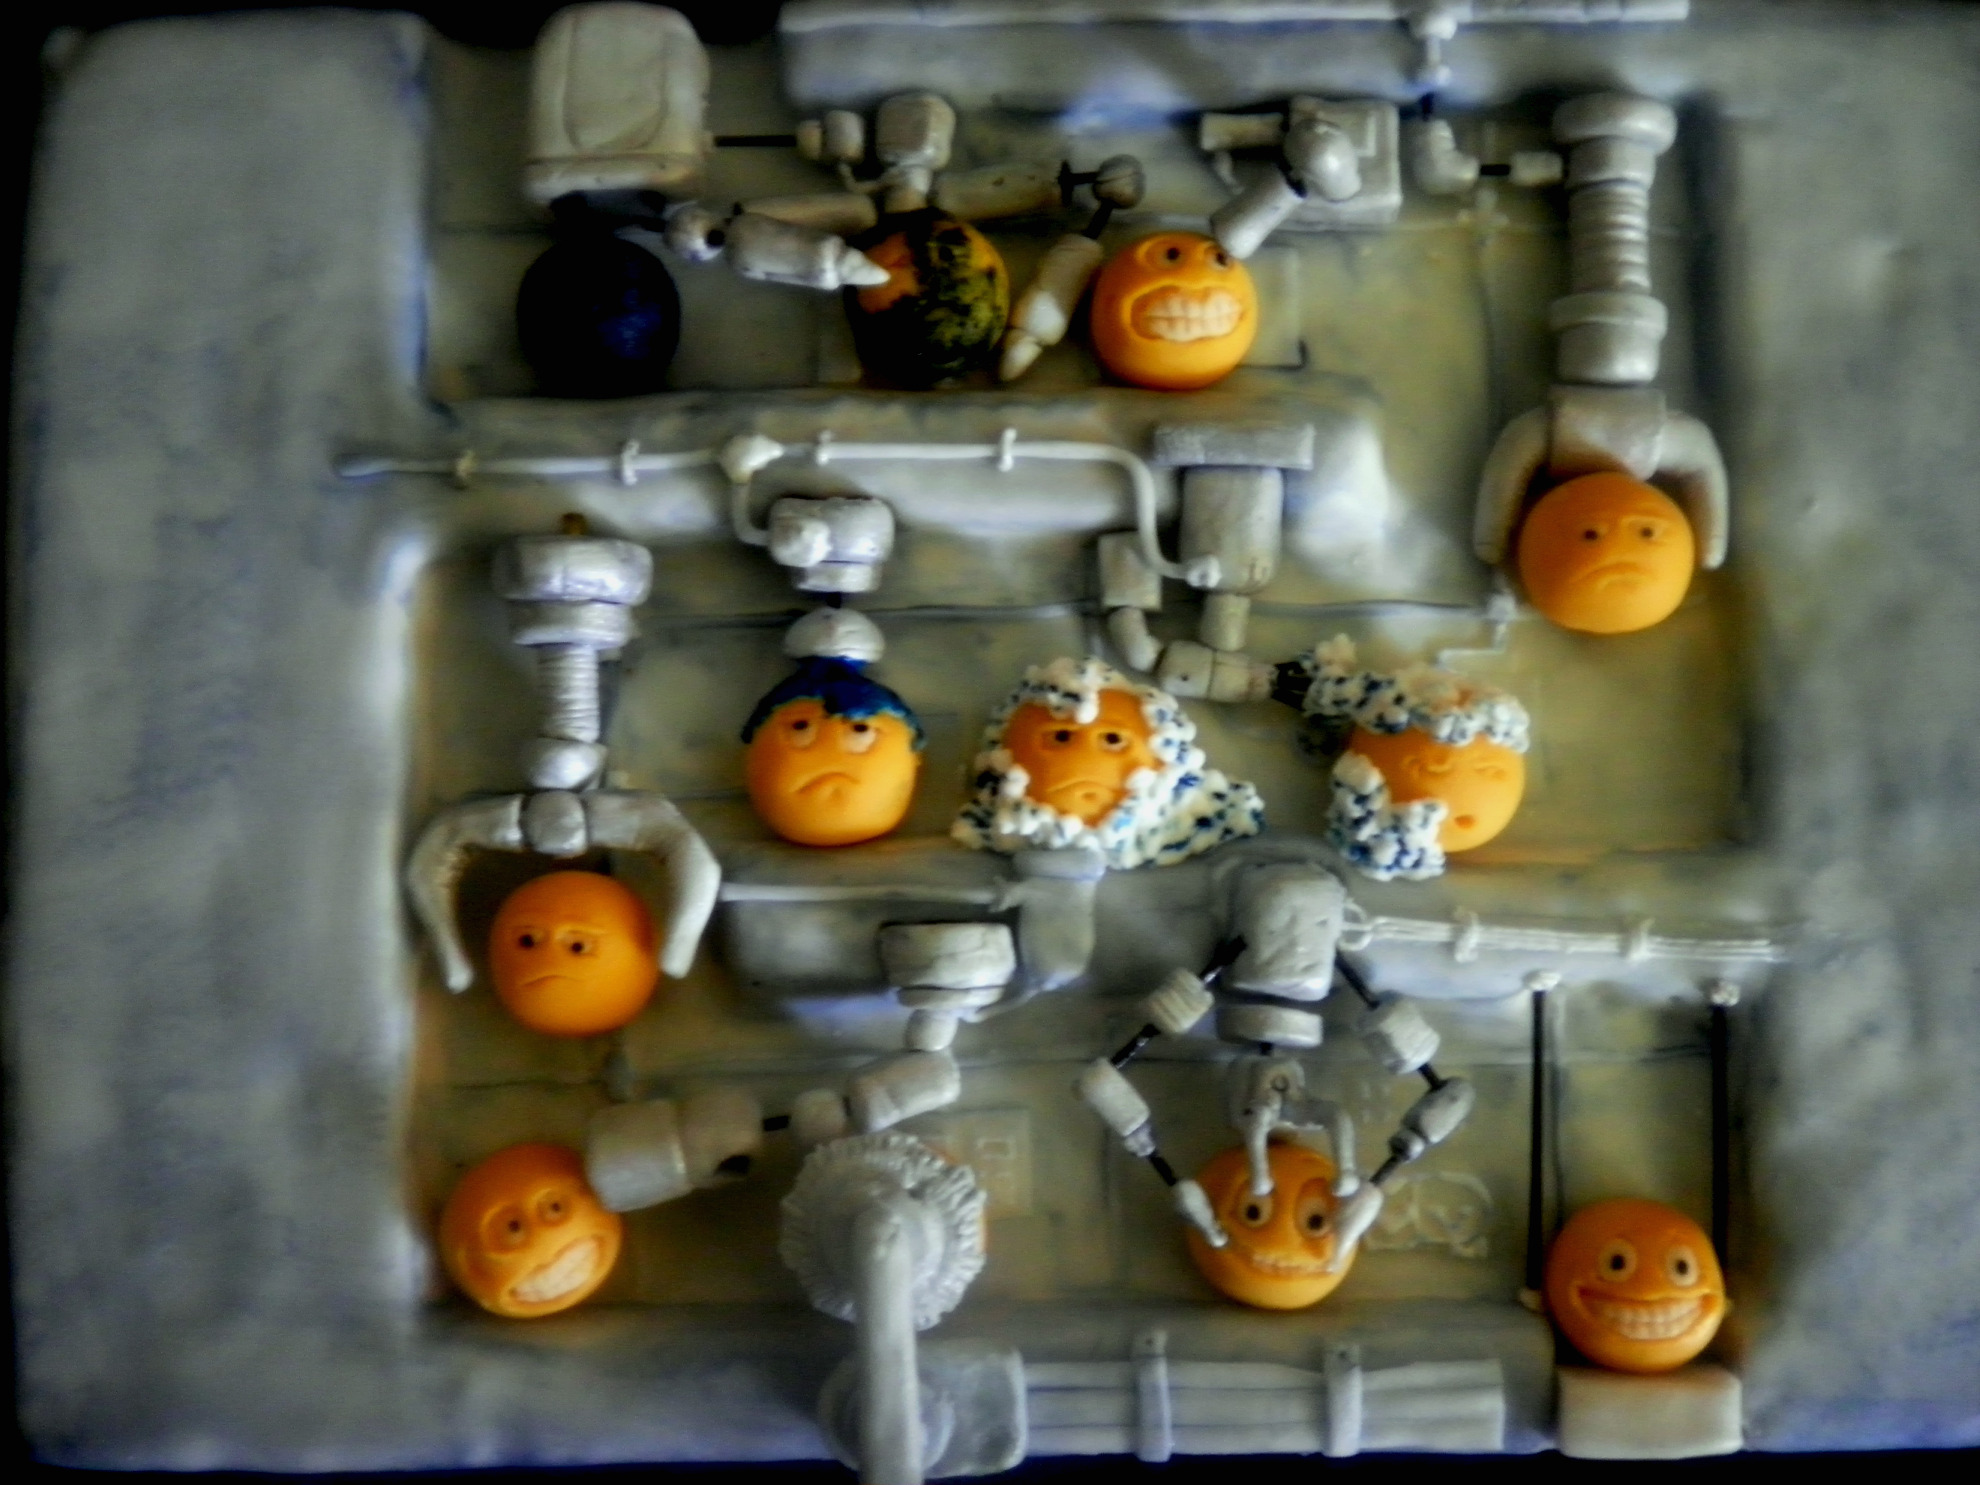
Covered the cake in grayish fondant and started painting the background..left the cake unattended for like..a second! (BIG mistake) and when I came back the right side had little baby finger holes in it! See video. I suspect the baby.
No prob tho. I pulled off the gray fondant and re-covered it in white fondant and instead of painting black lines and dots I added little fondant strips for the background then painted it all with diluted black food coloring. I put the faces and parts on in no particular order (as the pictures may show) and piped details like the soap, water and a few wires in royal icing. I'm really happy with how it turned out! And the kids are happy I'm finally done and they can stop plotting to sneak finger holes in it.
The first few pics were taken with my phone and the final pics were taken with my new camera that I haven't figured out how to focus very well. There are only a few pictures posted because the photo editor site I was using to resize the 50 or so pics gave up on me!! Seriously!! So I made a little slide show video with the rest.
I picked this cake because I can totally relate to Smiley..(btw, we are best friends now) In all it took about a 3 weeks to do this. I did maybe 2-3 faces or machine parts a night (after the kids went to sleep). The faces are fondant. The parts are gumpaste with painted dry spaghetti to help join them. The first face is black fondant then I "dirtied" him up with crushed black sprinkles. Then I took a week off. Did some thinking..ya know..soul searching, some people may call it procrastinating. Came back..and baked the cake!
Its a cream cheese pound cake. I made a basic buttercream but added some lemon and orange zest to jazz it up a bit. (oh yeeeah!) Carved and measured (in that order) and then of course..carved some more.
Covered the cake in grayish fondant and started painting the background..left the cake unattended for like..a second! (BIG mistake) and when I came back the right side had little baby finger holes in it! See video. I suspect the baby.
No prob tho. I pulled off the gray fondant and re-covered it in white fondant and instead of painting black lines and dots I added little fondant strips for the background then painted it all with diluted black food coloring. I put the faces and parts on in no particular order (as the pictures may show) and piped details like the soap, water and a few wires in royal icing. I'm really happy with how it turned out! And the kids are happy I'm finally done and they can stop plotting to sneak finger holes in it.